4. Generating Color Picker
- Walter Cheng
- Jun 22, 2019
- 2 min read
Updated: Jun 27, 2019
Now that we got the distribution of light from the previous chapter, we would like to see if we can get fill the color, instead of using the source image itself, we use a more science-fiction style color scheme.
In order to do that, we would like to get some ideas from some reference of the science-fiction image. Now, we will crop a section of the science fiction image, mostly with the similar color, and analysis them.
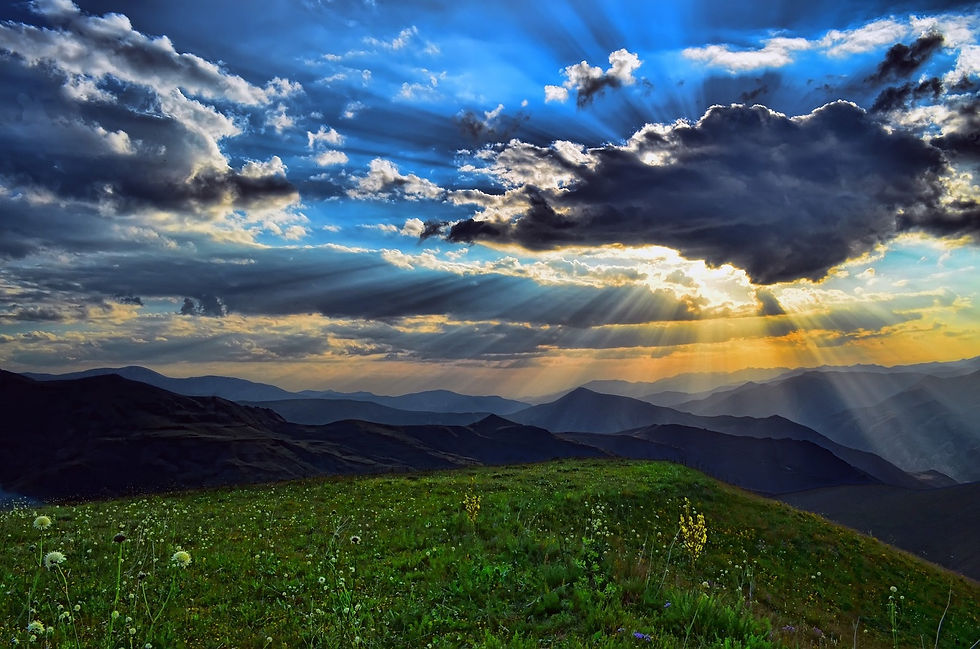
Here is the example image:

The lighting near the planet seems like a reasonable section for us to crop:

In order to use these reference color with the picture after histogram matching (will call HM below), we would like to sort the whole image by brightness. First, we will resize our image into 255px x 255px, then, we will treat them like an 1D array and sort them according to its gray-scale.

However, in order to use the color, we just need 255 of them to map with each gray-scale pixel. Therefore, we will just grab one line of the whole image

The above image only show as 255px x 255px but we will in fact just use it like an 1d data, we duplicate all the pixels to make a better visual effect for the explanation.
There seems to be a bit noise inside the image, we would like to blur it a bit to smooth it out.

So, we got our color picker from a science-fiction style image. Now, we would like to use this color picker for the HM image.


As you can see here, the main theme color changed from the original image, but it doesn't seems like it is using the HM image efficiently. In the next chapter, we will discuss the ratio we use between the source image and the color picker, in order to try to generate a better image that will look closer to a science-fiction style image.


Comments